How Do I Install Solar Lights
Installing solar lights is a simple and effective way to enhance your outdoor spaces with eco-friendly illumination. Whether you're looking to light up a garden, pathway, or driveway, solar lights offer a hassle-free solution that doesn't require complicated wiring or professional assistance. In this guide, we'll walk you through the steps to properly install solar lights and ensure they work efficiently.
Choosing the Right Location
The first step in installing solar lights is selecting the right location. Solar lights need to receive direct sunlight for most of the day to charge the batteries effectively. Therefore, it's important to place them in areas that are not shaded by trees, buildings, or other obstacles. Ideally, the solar panel should face south to maximize exposure to sunlight.
Consider the purpose of the lights when choosing their placement. For example, pathway lights should be spaced evenly along the walkway to provide consistent illumination, while spotlights should be directed towards the object or area you want to highlight. Take time to plan the layout to achieve the desired lighting effect.
Preparing the Installation Site
Before installing the solar lights, prepare the ground or surface where they will be placed. For ground-mounted lights, clear any debris, such as rocks or leaves, from the area. If the ground is hard or compacted, you may need to loosen it with a garden tool to make it easier to insert the stakes.
For wall-mounted or pole-mounted solar lights, ensure that the surface is clean and free of dust or dirt. Use a level to check that the mounting surface is even, as this will help ensure that the light is properly aligned once installed.
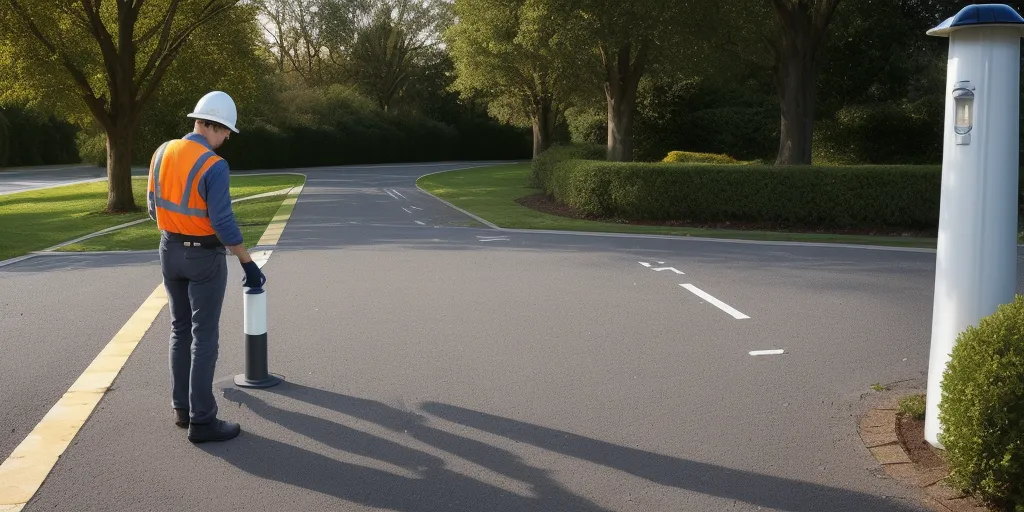
Installing Surface-Mounted Solar Lights
Surface-mounted solar lights, such as bollard lights, require a stable and secure base, especially when installed on concrete, decks, or paved surfaces. To install these lights, start by marking the spots where each bollard will be placed. Use a power drill with a masonry bit to create holes for the mounting screws if you're installing on concrete.
Once the holes are drilled, insert the provided plugs (if necessary), and secure the lights using the mounting screws. Make sure the lights are firmly fastened and level to prevent any shifting or tipping over. It's crucial to ensure the solar panel on each light is positioned to receive ample sunlight throughout the day.
For installations in areas with high winds or heavy public traffic, consider using stronger anchoring methods, such as expansion bolts or even concrete bases, to add extra stability.
Installing Solar Lights with Heavy-Duty Anchor Bolts or Expansion Bolts
In areas where solar lights are exposed to extreme weather conditions, or for installations on concrete and other hard surfaces, using heavy-duty anchor bolts or expansion bolts provides a highly secure method of installation.
To install using anchor bolts, begin by marking the desired locations for the lights. Using a masonry drill bit, drill holes deep enough to accommodate the anchor bolts or expansion bolts. Insert the bolts into the holes, ensuring they are securely fixed in place. Attach the base of the solar light fixture to the bolts, tightening the nuts to ensure a firm hold.
These bolts are especially useful for high-traffic areas or locations exposed to strong winds, as they provide a durable and permanent installation. For extra stability, consider using chemical anchors with the bolts, which adds additional strength by bonding the bolts to the concrete.
Installing Spike-Mounted Solar Lights
Spike-mounted solar lights are among the easiest to install. Simply insert the spike into the ground at the desired location, making sure that the solar panel is positioned to receive maximum sunlight. If the ground is particularly hard, you can create a pilot hole using a metal rod or similar tool before inserting the stake.
Once the light is securely in place, adjust the angle of the solar panel if possible, to ensure it faces the sun throughout the day. Some models have adjustable panels that can be tilted or rotated to capture the best angle of sunlight.
Installing Wall-Mounted or Pole-Mounted Solar Lights
Wall-mounted or pole-mounted solar lights require a bit more effort but are still straightforward to install. Start by marking the location where the light will be mounted. Use a drill to create pilot holes for the screws, then attach the mounting bracket using the provided hardware. Once the bracket is securely in place, attach the solar light to the bracket.
For pole-mounted lights, the process is similar, but you may need to assemble the pole before attaching the light. Make sure the pole is securely anchored to the ground or a sturdy surface to prevent it from tipping over.
Activating the Solar Lights
After installation, most solar lights require you to activate them by turning on a switch, which is usually located on the underside of the solar panel or the light itself. Some lights may also have a mode selector, allowing you to choose between different lighting settings, such as steady or flashing light.
It's a good idea to charge the solar lights for at least a full day before testing them at night. This will ensure that the batteries are fully charged and the lights can operate at their maximum brightness.
Installing Commercial-Grade Solar Lights
Commercial-grade solar lights are designed for more robust applications and often require a more thorough installation process. These lights are typically larger, more powerful, and built to withstand harsh environmental conditions. As such, their installation may involve additional steps to ensure stability and durability.
For commercial-grade solar lights, it's important to anchor the lights securely, especially in areas prone to high winds or heavy traffic. This might involve using concrete footings or specialized mounting hardware to secure the poles or brackets. Additionally, commercial-grade solar panels may need to be positioned on rooftops or other elevated structures to capture the most sunlight, which could involve professional installation services.
These lights also often come with larger battery packs and more complex wiring, which may require careful placement and connection to ensure they function correctly. While the basic principles of installation remain the same, the increased size and power of commercial-grade lights often necessitate more detailed planning and execution.
Maintaining Your Solar Lights
To ensure your solar lights remain in good working condition, regular maintenance is key. Clean the solar panels periodically to remove dust, dirt, and debris that can reduce their efficiency. If you live in an area with frequent snow or heavy rainfall, make sure to clear the panels after storms to maintain optimal performance.
Additionally, check the batteries every few months to ensure they are holding a charge. Most solar light batteries will need to be replaced every 1 to 3 years, depending on the type and quality of the battery. Regularly inspect the lights for any signs of damage or wear and replace any components as needed to keep your lights functioning well.